Notes:
|
This article or section contains information that is out-of-date.
|
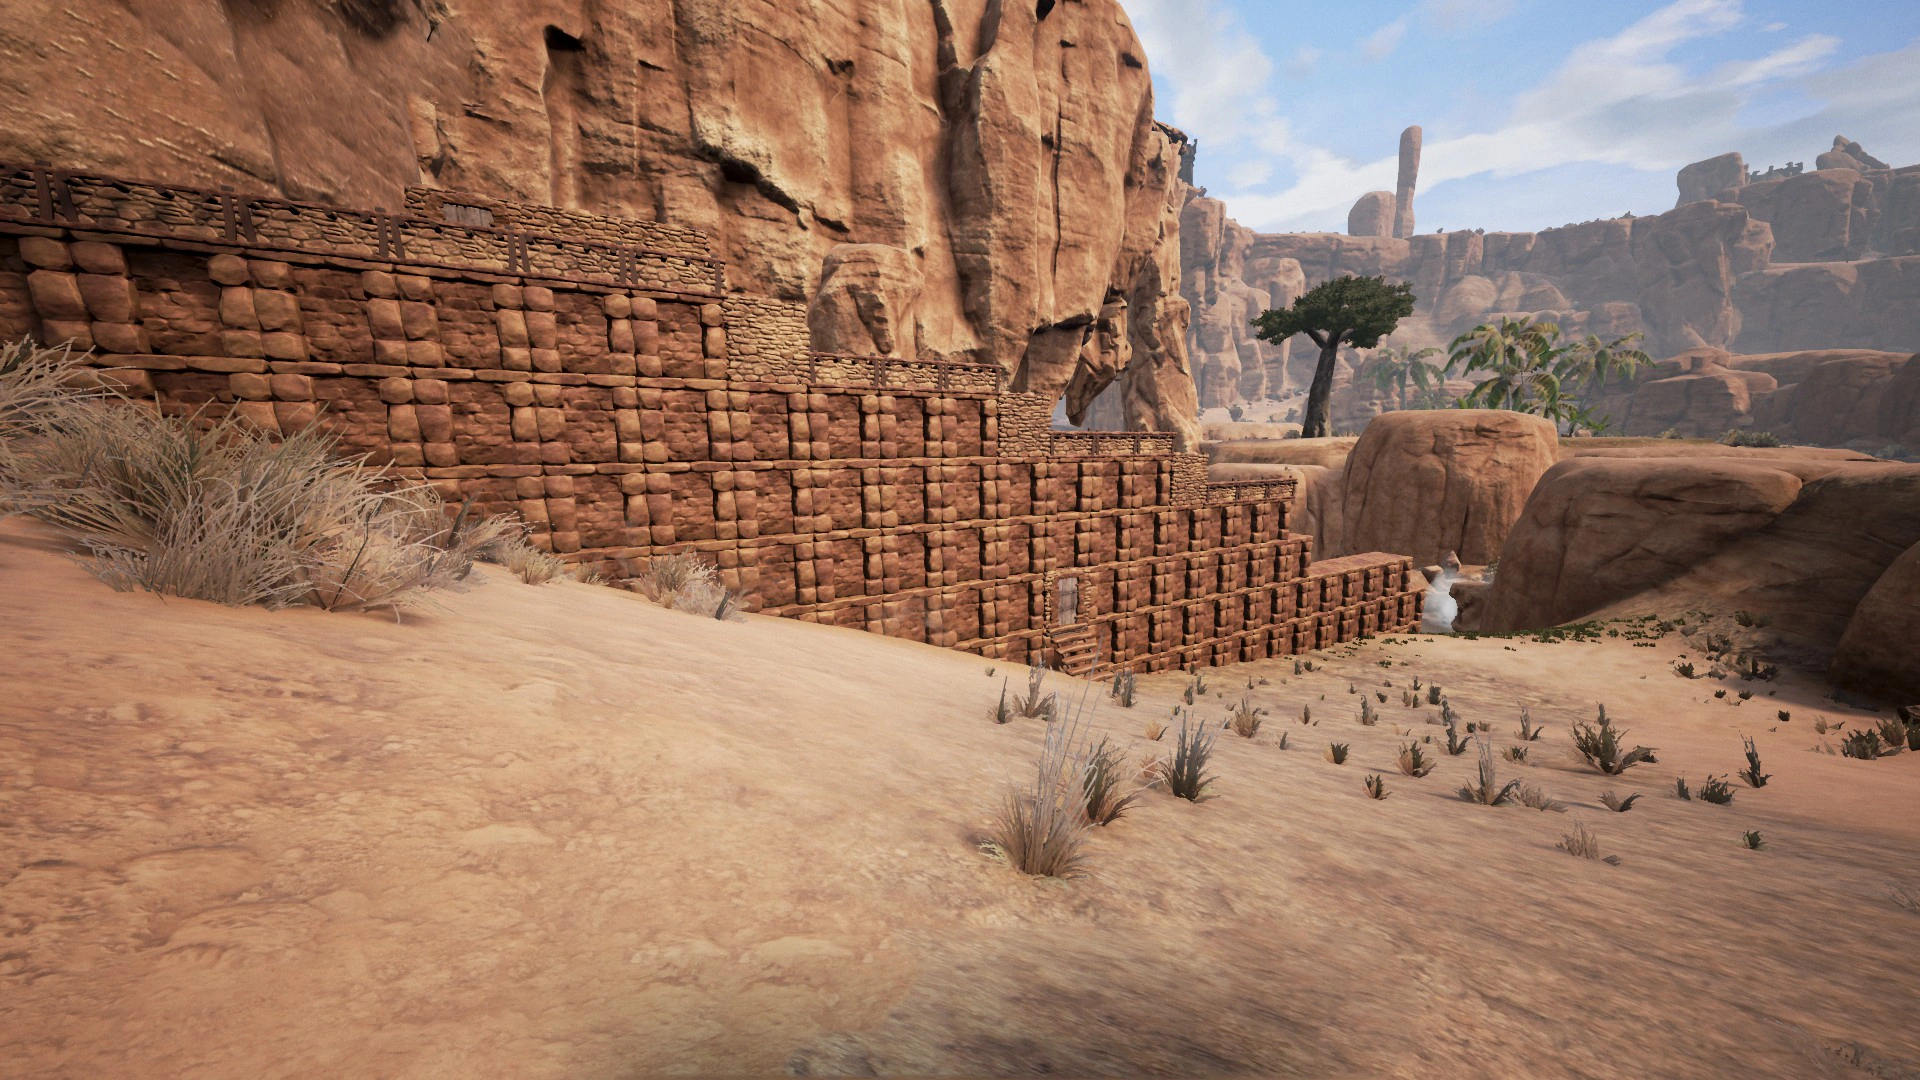
Building is one of the primary parts of Conan Exiles. By chopping down trees for wood and mining stone and other precious resources, you can craft the requirements to build massive multi-leveled structures composed of complex or simple snap-linked parts, from foundations to including walls, ceilings, windows, doors, pillars, gates, among many other types.
Structures you build have a load system, if you build out of the range of your foundation you will need to reinforce it to continue building, so reinforcing your buildings at the foundation is key. You can also place signs and other furniture items as you progress in levels and upgrade your recipes. Shelter is key to reducing the extremes of the sandstorm and provides security for yourself and to protect your stash. Band together with other players to build entire settlements to withstand fierce invasions!
You can rotate building props by scrolling up or down with the mouse wheel while in placement mode. This allows you to switch through all of the available snap points.
Basics
- See also: Controls.
- Ownership system with foundations and buildings allow for a radius of about 100 meters claim. If you are a part of a Clan with the owner of any placed foundations, you will be able to build on their foundations. If not you will not be able to place within 100 meters of another player's foundations.
- Buildings once placed cannot be moved, but they can be manually destroyed and will give back some of the build requirement in items. There are no building width limit, but there is a limit to how high you can go.
- After a recent patch all work stations can be picked up, providing they are not damaged in any way.
- Walls can be placed everywhere. Walls on buildings need to be connected to a foundation.
- You can build fence foundations on the side of foundations to provide an additional layer of protection.
- Foundations will prevent the re-spawning of Creatures and Resources. Additionally, buildings use a support system that needs to be supported by columns or being connected in some way to a foundation.
- Equipping a Repair Hammer will show you the quality of your buildings, and will give you a chance to see the materials needed to fix. You can craft a Repair Hammer with your first building.
- Building close to a Thrall camp will stop the inhabitants spawning. Therefore recent updates to the game have prevented building too close to these camps.
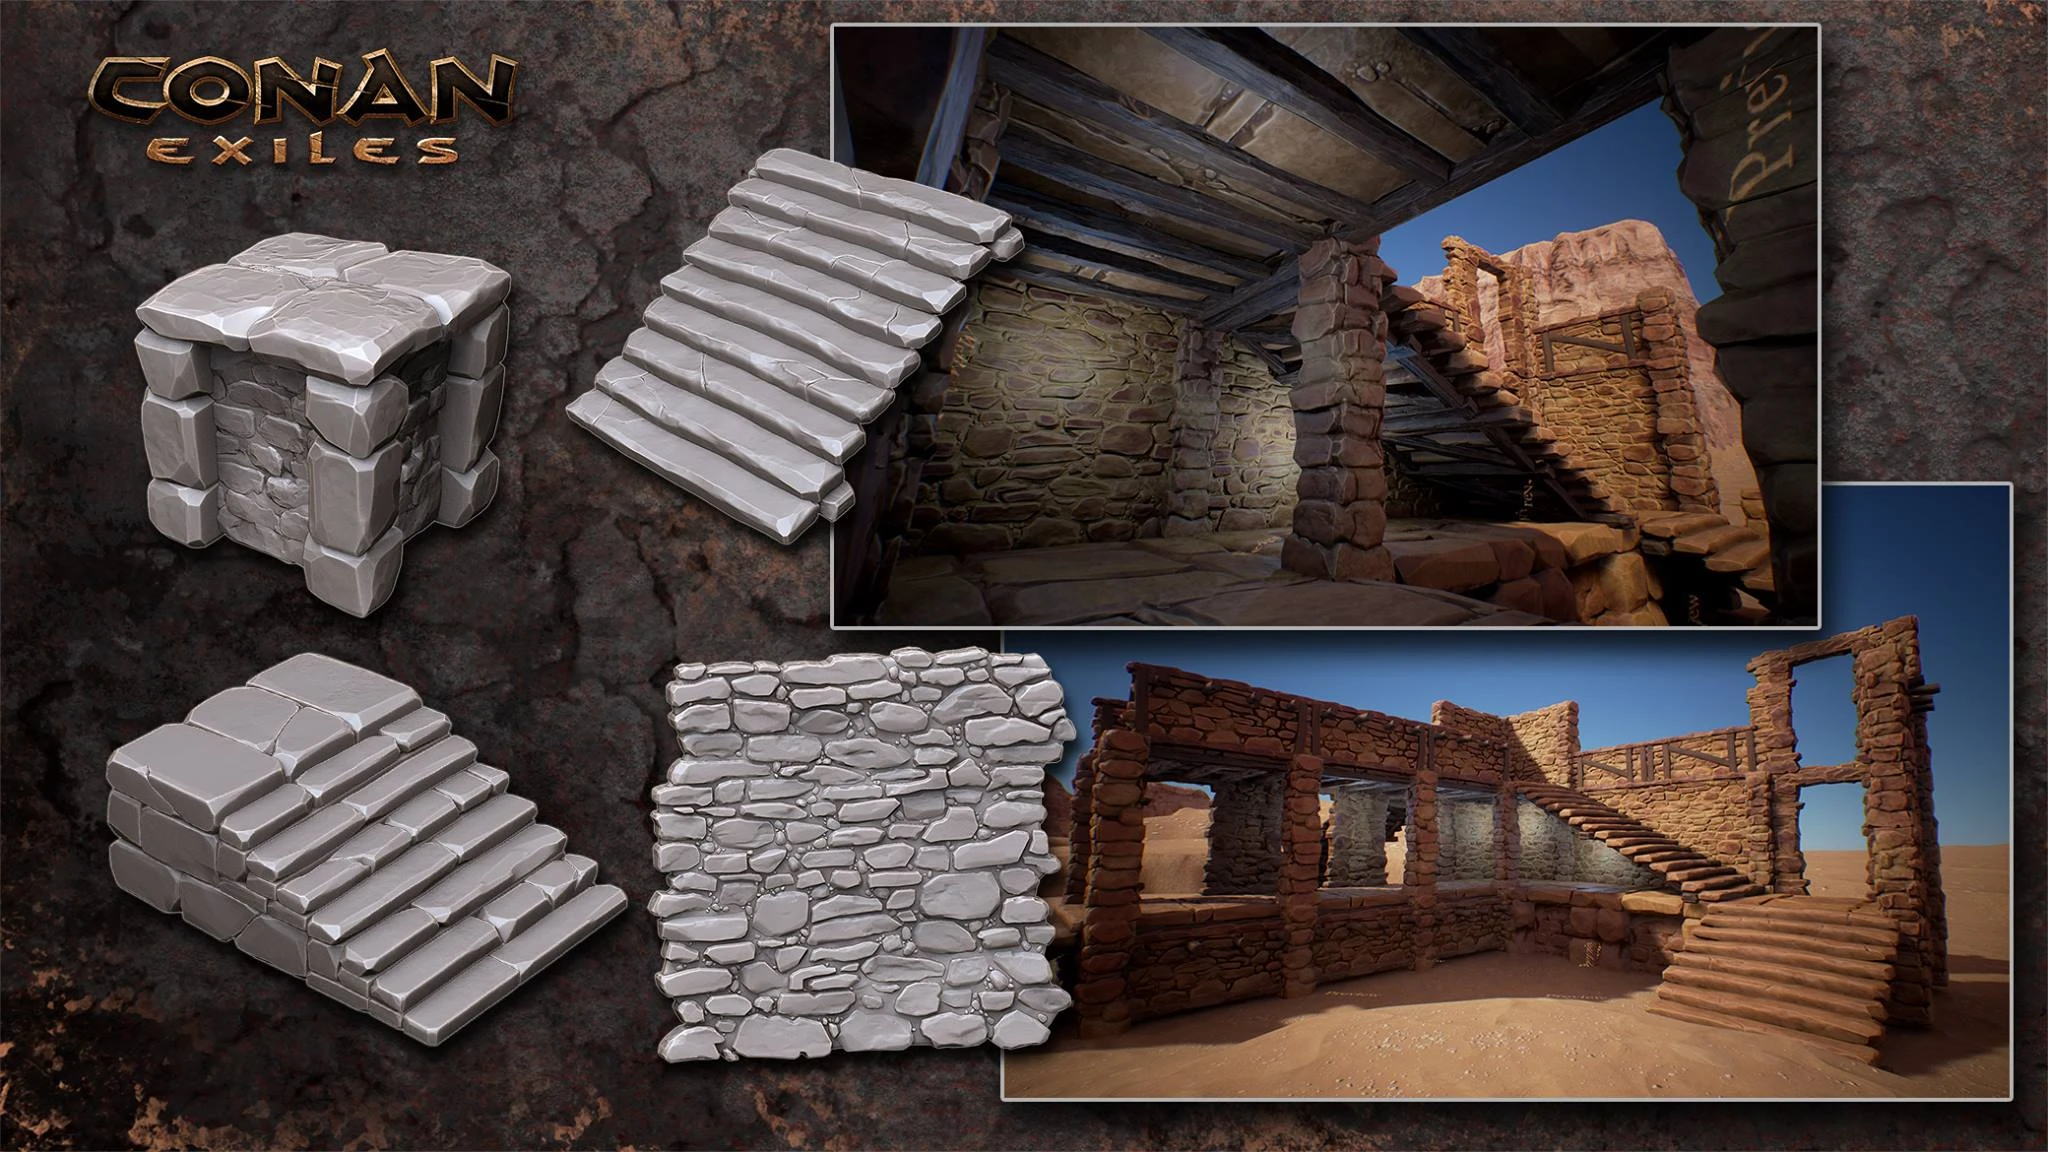
Building tiers
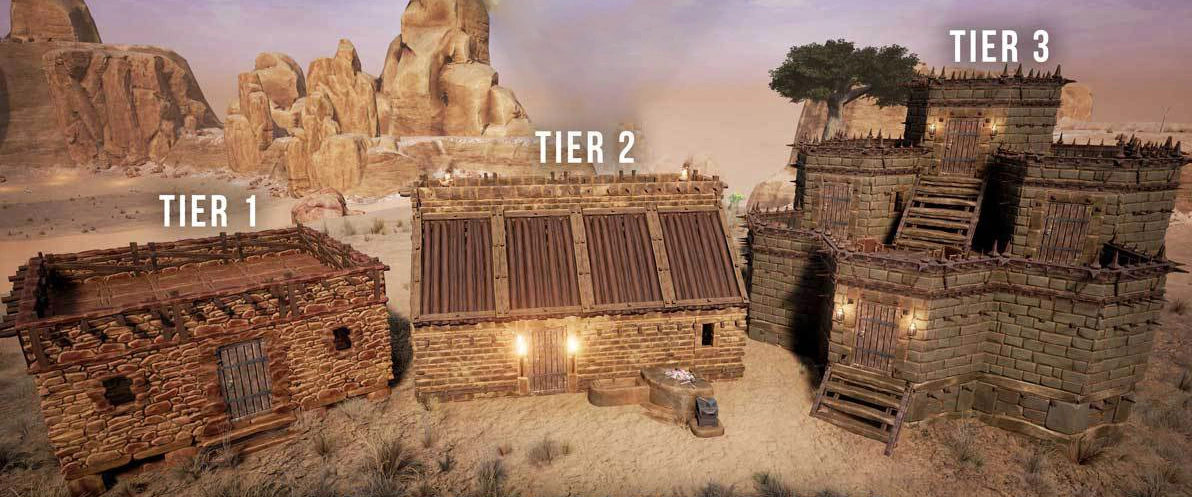
Buildings have 3 different Tiers of building supplies and materials.
- Tier 1 Buildings - Sandstone (Stone and Wood) - Steel Weapons, explosives, or orbs to destroy. Sandstone basic building can be unlocked with the Apprentice Mason recipe.
- Tier 2 Buildings - Stonebrick (Bricks, Shaped Wood, Iron Reinforcement) - Brick buildings are not able to be damaged by weapons and require the use of explosives or orbs to destroy. Bricks building can be unlocked with the Journeyman Mason recipe.
- Tier 3 Buildings - Reinforced Stone (Hardened Brick, Shaped Wood, Steel Reinforcements)- Steel buildings are not able to be damaged by Weapons and require the use of explosives or orbs to destroy. Unlock with the Master Mason recipe.
Building guides
- Please contribute building guides to the wiki. They are more than welcome!
- Foundation Stacking Simplified
- Castle building (playlist)
- Immersive building (playlist)
Combat
Defending against eg. Explosives.
Staircases
- Round towers with spiral stairs
- Round towers with spiral stairs (other examples)
- Towers with external stairs
- Open air winding spiral stairs
Advanced
- See also: a guide (outdated) on building and stability.
Themed
- Playlist by Eradicati0n (includes modded builds)
Decay System
- To prevent the map from being cluttered with buildings from players who have left the server, buildings will decay over time.
- Connecting more and higher-quality building materials will increase the total available decay timer, up to a maximum. To share in the decay timer, structural pieces must be connected.
- When a player or clan member who owns a structure gets near it, the decay timer will increase up to the max.
- Equipping a repair hammer will allow a player to view the remaining decay time on a structure.
- Subtracting the current decay time remaining from the maximum decay time shows how recently the structure's owner has been in the area. If it is at the maximum, the player is home!
- Placing an explosive jar on a non-owned structure or destroying part of it will increase the decay timer to the maximum.
- After the decay timer has elapsed, a 24-hour grace period will begin (decay will read 0:00).
- Altars provide a massive boost to decay time (both limit and time left) on smaller buildings.
- After a structure has decayed (the state listed in the event log is called "abandoned"), any player may activate it and select "demolish" to destroy the structure for 24 hours. After 24 hours, the structure will disappear.
- Placeables that are mostly under the mesh will lose stability and are removed automatically after some time. This may happen to large structures like Animal Pens.[1]
- A small building (especially if T1) will not get the full 7 day timer.
- Try placing a single isolated foundation and check the timer. It will be very low. Keep adding foundations a few at a time and checking the timer (will take a few seconds to update). You will notice the maximum timer gradually gets longer.[2]
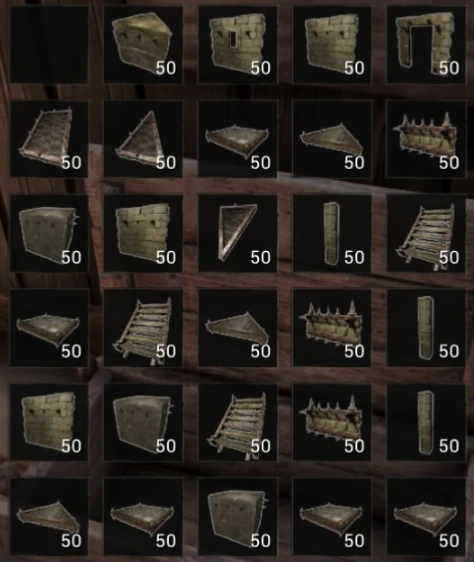
List of all buildable structures
Sandstone
 Sandstone Foundation
- Sandstone Wall
- Sandstone Ceiling
- Sandstone Doorframe
- Simple Wooden Door
- Sandstone Pillar
- Sandstone Window Frame
- Sandstone Wedge
- Sandstone Wedge Foundation
- Thatch Wedge Sloped Roof
- Inverted Thatch Wedge Sloped Roof
- Thatch Sloped Roof
- Left-sloping Sandstone Wall
- Right-sloping Sandstone Wall
- Thatch Sloped Roof Corner
- Inverted Thatch Sloped Roof Corner
- Left-sloping Inverted Sandstone Wall
- Right-sloping Inverted Sandstone Wall
- Sandstone Fence Foundation
- Sandstone Fence
- Sandstone Stairs
Stonebrick
- Left-sloping Stonebrick Wall
- Reinforced Wooden Door
- Right-sloping Stonebrick Wall
- Stonebrick Ceiling
- Stonebrick Doorframe
- Stonebrick Fence Foundation
- Stonebrick Fence
- Stonebrick Foundation
- Stonebrick Gate
- Stonebrick Gateway
- Stonebrick Pillar
- Stonebrick Stairs
- Stonebrick Wall
- Stonebrick Wedge Foundation
- Stonebrick Wedge
- Stonebrick Window Frame
Reinforced
- Reinforced Stone Foundation
- Reinforced Stone Wall
- Reinforced Stone Doorframe
- Heavy Reinforced Door (Variant A)
- Reinforced Stone Ceiling
- Reinforced Stone Stairs
- Reinforced Stone Pillar
- Reinforced Stone Wedge Foundation
- Reinforced Stone Wedge
- Reinforced Stone Window Frame
- Reinforced Stone Fence Foundation
- Reinforced Stone Fence
- Left-sloping Reinforced Stone Wall
- Right-sloping Reinforced Stone Wall
- Reinforced Stone Gateway
- Reinforced Stone Gate
Crafting Stations
- Armorer's Bench
- Artisan Table
- Beehive
- Blacksmith's Bench
- Bonfire
- Campfire
- Carpenter's Bench
- Compost Heap
- Crude Planter
- Dryer
- Fermentation Barrel
- Firebowl Cauldron
- Fluid Press
- Furnace
- Grinder
- Improved Armorer's Bench
- Improved Beehive
- Improved Blacksmith's Bench
- Improved Firebowl Cauldron
- Improved Furnace
- Improved Planter
- Improved Stove
- Improved Tannery
- Large Campfire
- Planter
- Stove
- Tannery
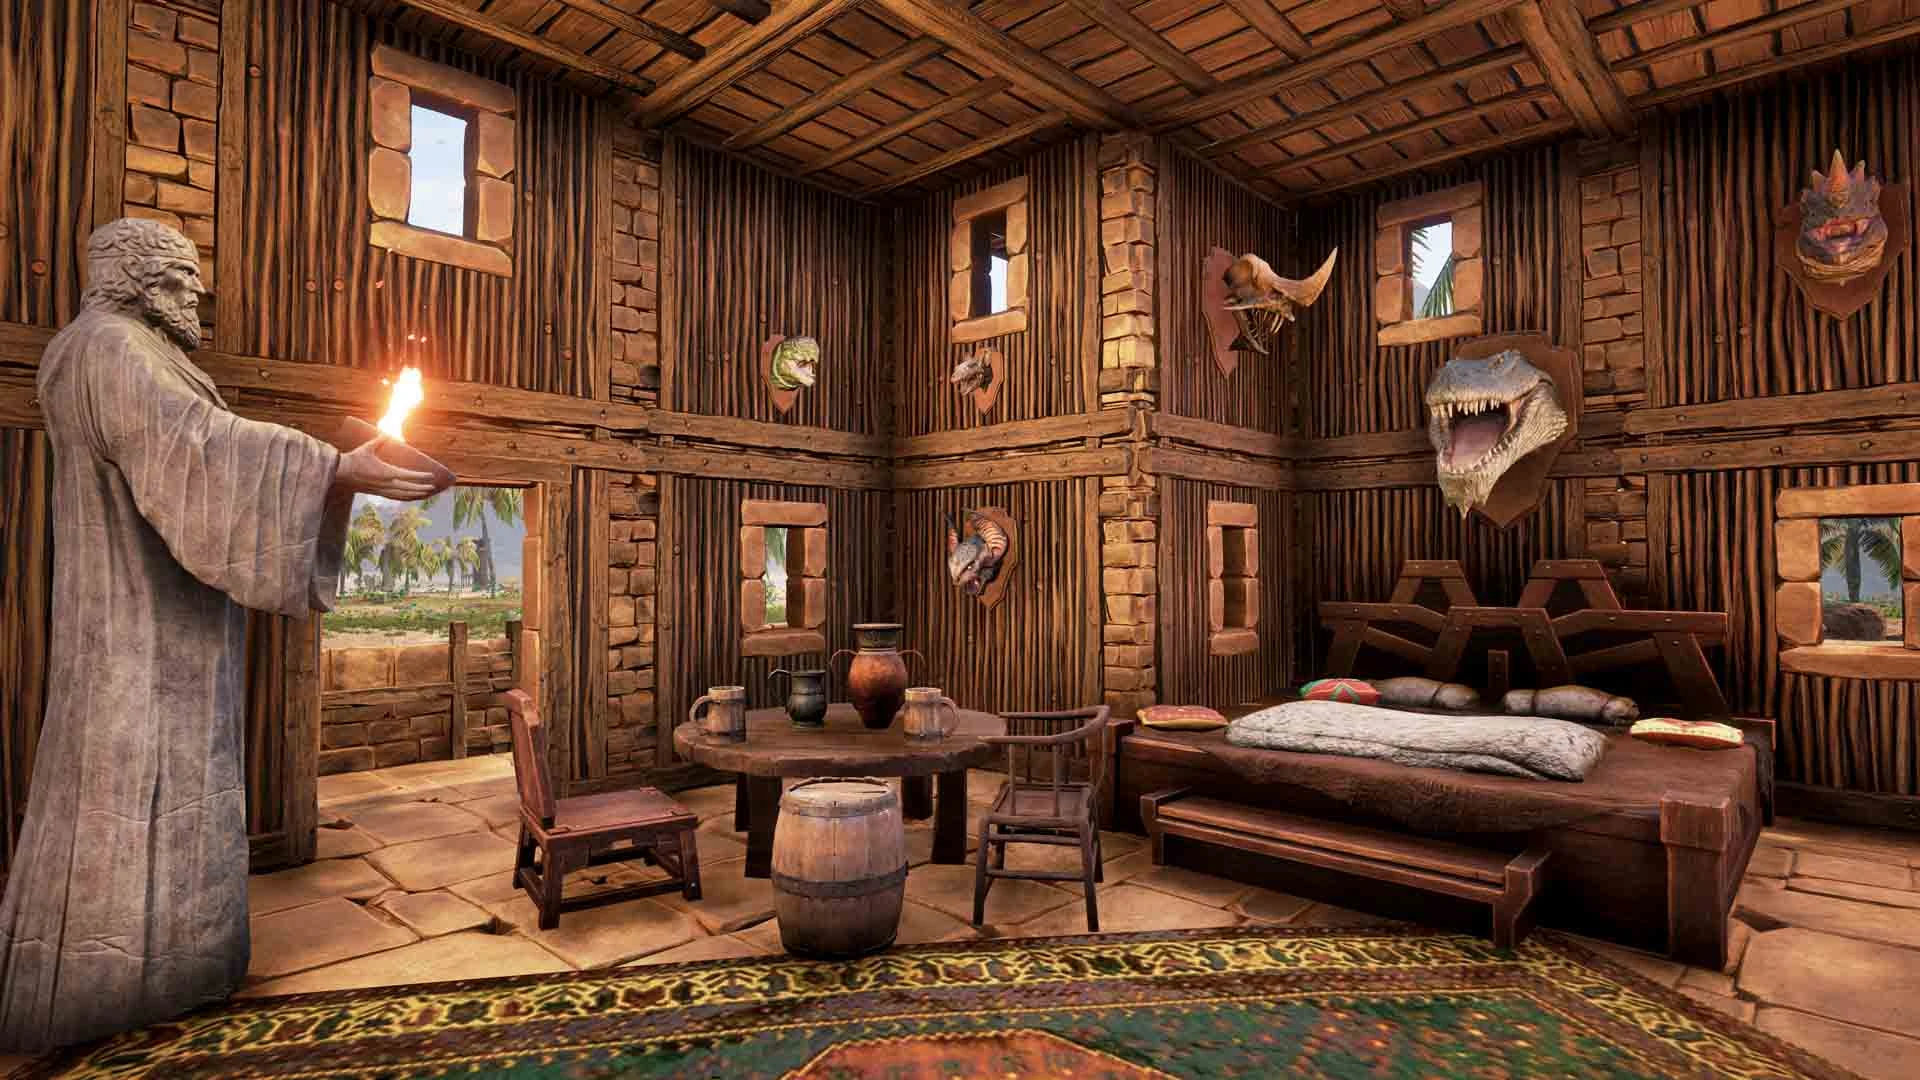
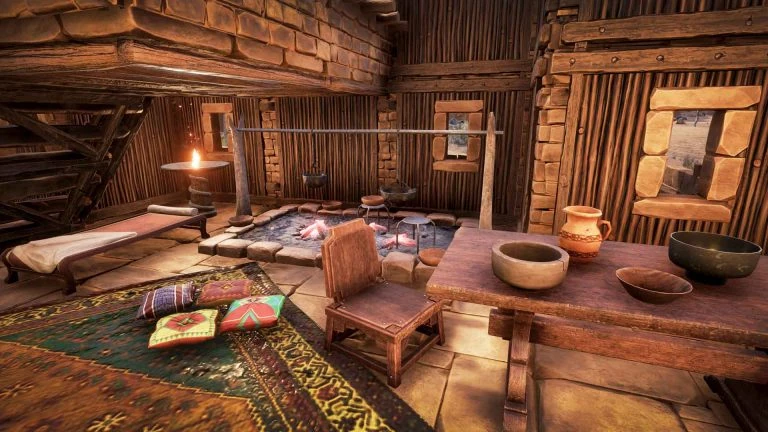
Furniture
- Ale Keg
- Awning
- Barrel
- Bed
- Bed - Folded
- Bed - Stygian (Variant A)
- Bed - Stygian (Variant B)
- Black Candle
- Black Candle Stub
- Blue Stygian Carpet
- Bracketed Torch
- Candleholder
- Candle Stub
- Carpet
- Cauldron
- Ceramic Jug
- Ceramic Jar
- Chair
- Comfortable Chair
- Crude Wooden Bowl
- Darfari Wind Chimes
- Decorative Bowl
- Double bed
- Drum (Variant A)
- Drum (Variant B)
- Earthenware Jug
- Fiber Bedroll
- Fireplace and Hearth
- Gong
- Green Stygian Carpet
- Hide Rug
- Horn (Variant B)
- Iron Bowl (Variant A)
- Iron Bowl (Variant B)
- Iron Bowl (Variant C)
- Iron Bowl (Variant D)
- Iron Brazier
- Iron Jug
- Iron Pan
- Iron Pot
- Large Banner
- Large Carpet
- Large Chest
- Large Darfari Wind Chimes
- Large Earthenware Jug (Variant A)
- Large Earthenware Jug (Variant B)
- Large Earthenware Jug (Variant C)
- Large Water Well
- Log Bench
- Medium Banner
- Mortarium
- Orange Stygian Carpet
- Papyrus Scroll
- Pillow (Variant A)
- Pillow (Variant B)
- Pillow (Variant C)
- Pillow (Variant D)
- Protected Torch
- Rawhide Bedroll
- Rock Slab
- Round Stool
- Shaleback Hatchling Decoration
- Shelf
- Small Barrel
- Small Banner
- Square Stool
- Standing Torch
- Stone Throne
- Stygian Brazier (Variant A)
- Stygian Brazier (Variant B)
- Stygian Drum
- Stygian Flag
- Table - Round
- Table
- Tapestry (Variant A)
- Tapestry (Variant B)
- Vault
- Wall Brazier
- Wall Lantern
- Wall Sign
- Water Well
- White Candle
- Wooden Bench
- Wooden Box
- Wooden Chair
- Wooden Signpost
- Woven Stool
Altars
Ymir
Set
Yog
Mitra
Wheels of Pain
Animal Pen
Trophies
- Antelope Head Trophy
- Black Bear Trophy
- Black Rhino Head Trophy
- Brown Bear Trophy
- Crocodile Head Trophy
- Deer Trophy
- Demonic Shaleback Head Trophy
- Dire Wolf Trophy
- Elk Trophy
- Elk King Trophy
- Gazelle Head Trophy
- Grey Rhino Head Trophy
- Hyena Head Trophy
- King Rocknose Head Trophy
- Kudo Head Trophy
- Mammoth Trophy
- Mountain Goat Trophy
- Panther Trophy
- Rhino King Head Trophy
- Rocknose Head Trophy
- Red Dragon Trophy
- White Rhino Head Trophy
- Sabretooth Trophy
- Shaleback King Head Trophy
- Shaleback Head Trophy
- Skeletal Serpentman Head Trophy
- Bat Demon Head Trophy
- Wolf Trophy
- Wild Boar Trophy
- Green Dragon Trophy
- Undead Hyena Head Trophy
Additional
Media
References
- ↑ AlrenStorm (discord)
- ↑ https://forums.funcom.com/t/decay-and-abandonment/49820/4