| "How To Play Guide für Conan Exiles" | |
|---|---|
| Noch ohne Bild | |
| Beschreibung |
Dieser Guide enthält alles, was du für den Einstieg wissen musst, einschließlich Informationen zum Überleben in der Wildnis sowie zu Feinden, Waffen, Ressourcen, toolWerkzeugen, Religionen, Gilden, Gebäude und weiteren Informationen, sobald mehr Inhalte veröffentlicht werden!
Grundlegendes[ | ]
Für deine zahlreichen Verbrechen wurdest du in Mitten der Exilelands ans Kreuz genagelt. Ist es Zufall oder Schicksal, dass dich ausgerechnet Conan selbst aus deiner misslichen Lage befreit? Obwohl Conan frei ist, bist du in den verbannten Ländern gefangen und kannst nicht entkommen. Ein mystisches Armband hindert dich an der Flucht durch eine magische Barriere (und denk jetzt nicht daran, das Armband gewaltsam zu entfernen. Dies wird dich töten). Deine ersten Bedürfnisse werden Nahrung und Wasser sein. Verlasse also schnellstmöglich die karge Wüste nach Norden in Richtung eines großen Flusslandes.
Das Flussland bietet dir ausreichend Nahrung und Wasser. Allerdings bist du hier nicht alleine unterwegs. Du musst dich auf neue Gefahren einstellen. Verschiedene Feinde wie wilde Kreaturen, andere Verbannte oder sogar andere Spieler trachten nach deinem Leben; ja selbst das Wetter versucht dich mit den regelmäßigen Sandstürmen in die Knie zu zwingen. Baue als schnellstens einen Unterschlupf und bewaffne dich um deinen Gegnern zu trotzen.
Durch das Sammeln von Ressourcen, das Herstellen von Gegenständen, der Erkundung der Exileland oder das Töten von Gegnern erhältst du Erfahrungspunkte (EP). Wenn du genügend EPs gesammelt hast, steigst du in der Stufe auf und kriegst Punkte, welche du jeweils für den Ausbau deiner Attribute (Taste Vorlage:Key) für Attribute-Menüund neuer Talente (Taste Vorlage:Key) für Talente-Menü vergeben kannst.
Grundlegende Steuerung[ | ]
Los geht's[ | ]
1. Nahrung und Wasser[ | ]
Dank Conans Rettung startet deine Reise inmitten der trostlosen Wüste. Mit nichts außer deiner Haut, einem mystischen Armband sowie wachsendem Durst und Hunger merkst du schnell, dass du hier nicht bleiben kannst. Nimm deine Beine in die Hand und zieh ins Landesinnere in die Richtung eines vielversprechenden lebensspendenden Flusses. Vergiss aber nicht, deine Umgebung zu erkunden. So entdeckst du neben Hinweisen oder Tagebüchern auch nützliche Sachen wie z.B. einen gefüllten ![]() Trinkschlauch. Unterwegs sammelst du bereits grundlegende Materialien wie Pflanzenfasern, Äste und Steine um damit deine erste Kleidung und Werkzeuge herzustellen. Nebenbei erhältst du bereits deine ersten Erfahrungspunkte.
Trinkschlauch. Unterwegs sammelst du bereits grundlegende Materialien wie Pflanzenfasern, Äste und Steine um damit deine erste Kleidung und Werkzeuge herzustellen. Nebenbei erhältst du bereits deine ersten Erfahrungspunkte.
Sobald du den Fluss erreicht hast kannst du direkt durch drücken der Vorlage:Key-Taste daraus trinken. Wenn du den ![]() Trinkschlauch beim Start deiner Odyssee eingepackt hast, kannst du diesen ebenfalls am Fluss auffüllen (indem du ihn ausrüstest und verwendest).
Trinkschlauch beim Start deiner Odyssee eingepackt hast, kannst du diesen ebenfalls am Fluss auffüllen (indem du ihn ausrüstest und verwendest).
Am Fluss triffst du auch auf die wilden Tiere welche als Schieferrücken bekannt sind. Plündere ihre ![]() Eier aus den Nestern. Diese versorgen dich mit Wasser sowie Nahrung und lassen deine Gesundheit regenerieren. Bevor du größere Tiere erlegen kannst, solltest du mit folgenden Nahrungsquellen vorlieb nehmen:
Eier aus den Nestern. Diese versorgen dich mit Wasser sowie Nahrung und lassen deine Gesundheit regenerieren. Bevor du größere Tiere erlegen kannst, solltest du mit folgenden Nahrungsquellen vorlieb nehmen:
 Fettraupe - Wer einen starken magen hat, weiß das Fleisch und die Flüssigkeit dieser Raupe in der Hitze der Wüste durchaus zu schätzen.
- Eine Handvoll Insekten - Eine Handvoll Insekten kann ausreichen, um den Hunger für kurze Zeit zu stillen.
- Widfleisch - Rohes Fleisch ist für hungernde und verzweifelte Menschen eine gefährliche Versuchung. Sein Verzehr lindert zwar augenblicklich den Hunger, birgt aber die Gefahr, sich mit einer Krankheit oder einem unliebsamen Parasiten zu infizieren. Hierbei handelt es sich um das Fleisch kleiner Tiere. Es ist weder sonderlich schmackhaft noch sättigend. Wird das Fleisch nicht rasch gekocht, verdirbt es und wird ungenießbar.
Um eine bessere und stabilere Lebensmittelversorug zu erreichen, musst du zunächst eine Dinge herstellen. Das bringt und zum nächsten Punkt...
2. Sammeln... sammeln... sammeln...[ | ]
Collecting basic materials and resources will become your bread and butter. It is essential to put your focus on collecting Plant Fiber, Branches and Stone that are either on the ground or picked up by harvesting bushes.
- Plant Fiber - The most basic materials that can be gathered by hand from plants. These fibers can be woven into rough clothing, but it will only provide a simple protection against the elements. Anything woven from such crude material cannot be expected to stop a swinging blade.
Plant fiber can be used for a variety of things, from light Armor to ![]() Twine to later on making things out of it from a basic bed to the base of your civilization. You'll really need a lot of it. Once you've managed to put together a
Twine to later on making things out of it from a basic bed to the base of your civilization. You'll really need a lot of it. Once you've managed to put together a ![]() Stone Hatchet (made from Stone and Branches), you can cut down and harvest the smaller trees, which will provide you with larger bunches of Plant Fiber.
Stone Hatchet (made from Stone and Branches), you can cut down and harvest the smaller trees, which will provide you with larger bunches of Plant Fiber.
- Branch - Branches can be used to create rudimentary weapons and tools, which can then be used to shape wood for more beneficial purposes.
You'll be able to find branches everywhere easily. First simply laying on the ground, but once you've put together a Stone Hatchet, you can cut down the larger trees which will give you both Wood and Branches. Use them in crafting Weapons and making Tools.
- Stone Stone - Most humble of materials and most common, stone is the building block of civilization. From the primitive weapons of Picts to the marble sheathed palaces of Aquilonian Kings, stone is the foundation upon which all is predicated. Even the elder races, who vanished from the earth without a trace, left behind great ruined cities of brooding stone to mark their passing.
Stone is useful in a lot of things, and you'll need a lot of it if you ever plan on building anything. You can start collecting it by picking it up from the ground, and together with Branches you can then make a ![]() Stone Pick to harvest larger amounts from rock piles.
Stone Pick to harvest larger amounts from rock piles.
3. Recipes & crafting[ | ]
The materials above are the base for crafting, and with the right combination can provide you with the basics for survival. Open up your inventory with Vorlage:Key to begin crafting on the right side. You'll start with a few recipes every exile starts with, basic Clothing and some tools. To have more crafting options you'll need to unlock them with the Recipes menu. The menu of all the Recipes will give you access to a lot more recipes - or a little more, depending on your Character's level. Just hit the "Unlock"-button below the Recipes. Note that not every recipe can be unlocked by the main recipe screen. The different icon buttons at the top right go much further in depth.
Wildlife: The creatures & beasts of the Exiled Lands[ | ]
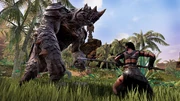
The Exiled Lands are filled with a variety of different creatures, animals and beasts both common and uncommon in Hyboria. They can be found, hunted and harvested for Resources and Food to aid you in your struggle against both the elements and other exiles. As you make your way out of the desert, you will eventually reach the river. This lush, green area is the home of mostly docile prey. Animals like Shalebacks and Rabbits are plentiful, yielding bone, meat and hide when harvested after killing them. Hide can be tanned to make leather, perfect for Crafting strong and tough Armor. See a few of the Creatures below.
| Image | Animal | Notes | Drops |
|---|---|---|---|
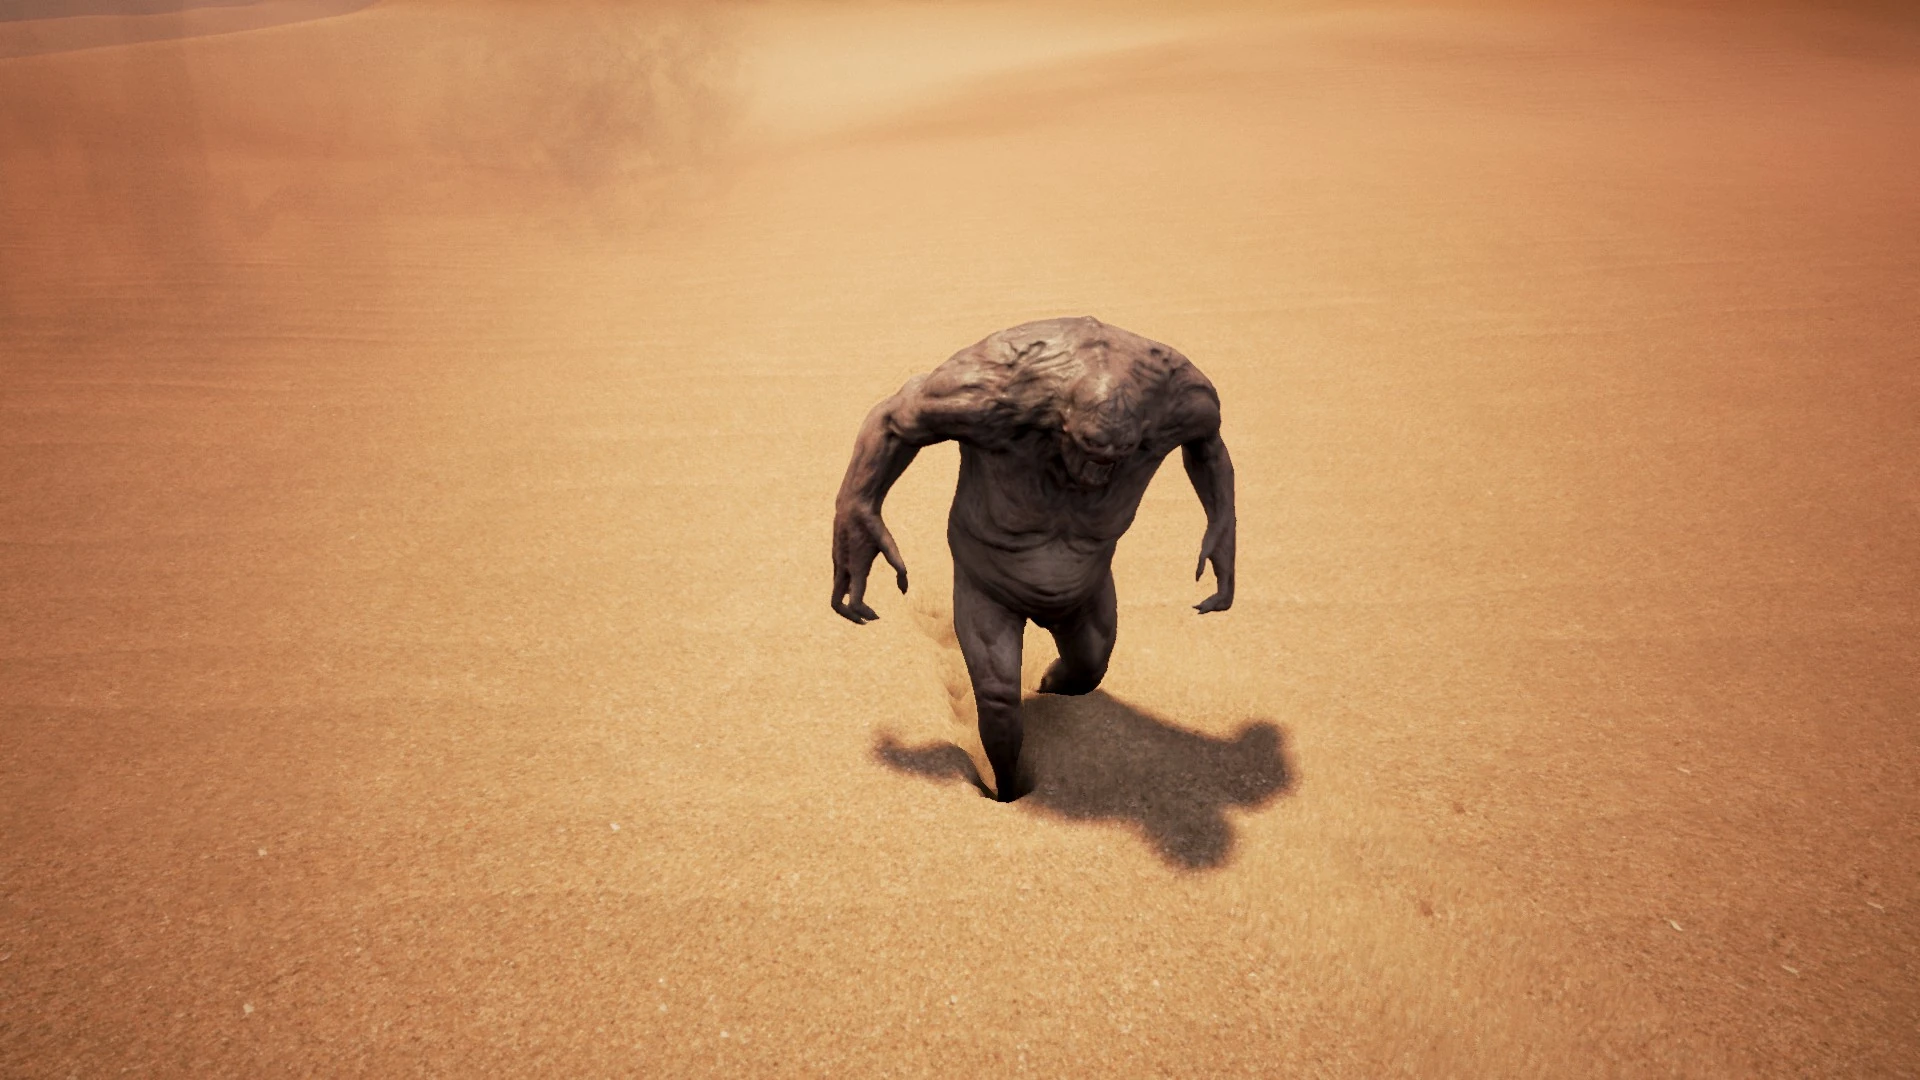 |
Imp | The Imp is one of the more aggressive beasts in Hyboria, and will chase and attack you whenever they catch wind of your scent. | Bone, Feral Flesh and Hide |
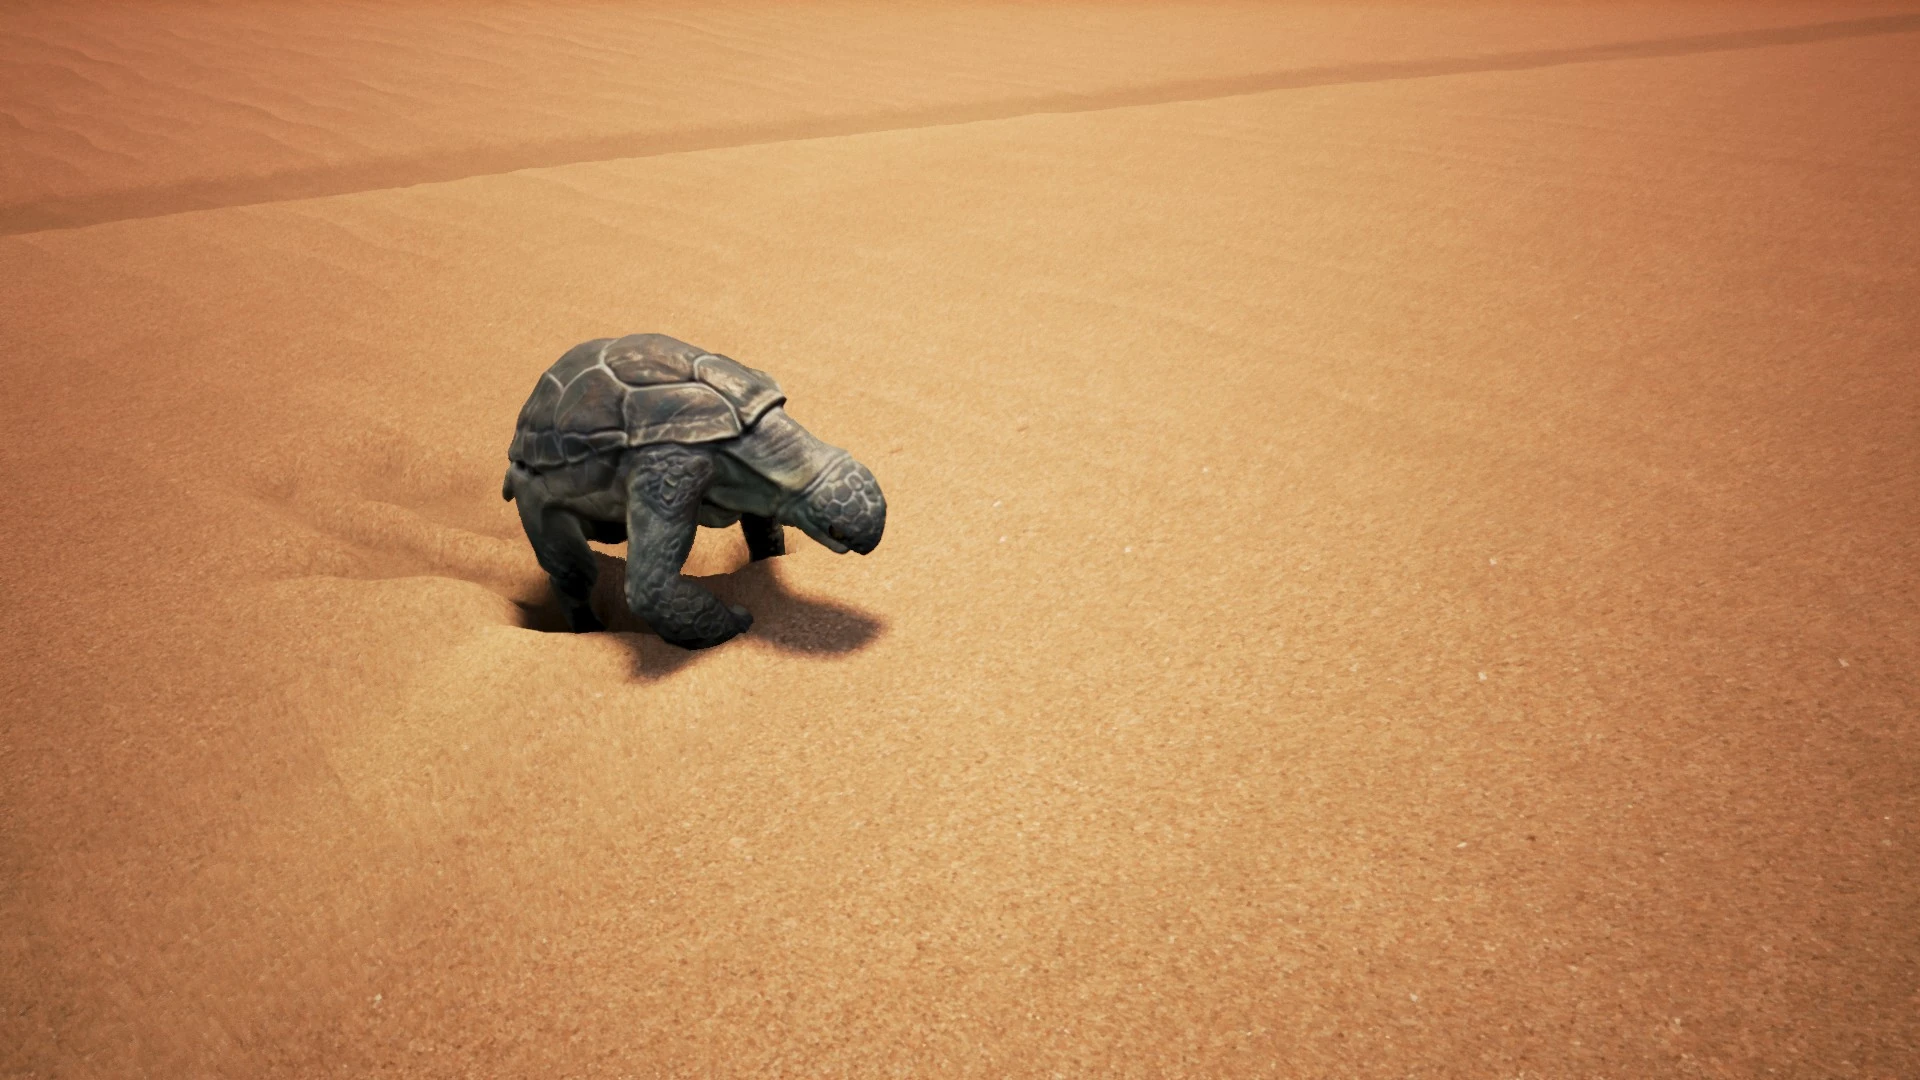 |
Shaleback | The Shaleback can be a bit more docile unless engaged. These creatures will stand on their back legs and swing with a crushing blow. If you're not properly geared you'll get taken out in a few swings. | Bone, Feral Flesh and Hide |
 |
Crocodile | The Crocodile is a very aggressive creature and will attack to kill if it catches your scent. If left unaware, they can take you out in a single bite. | Thick Hide, Savory Flesh, Bone |
Weapons, armor and shields[ | ]

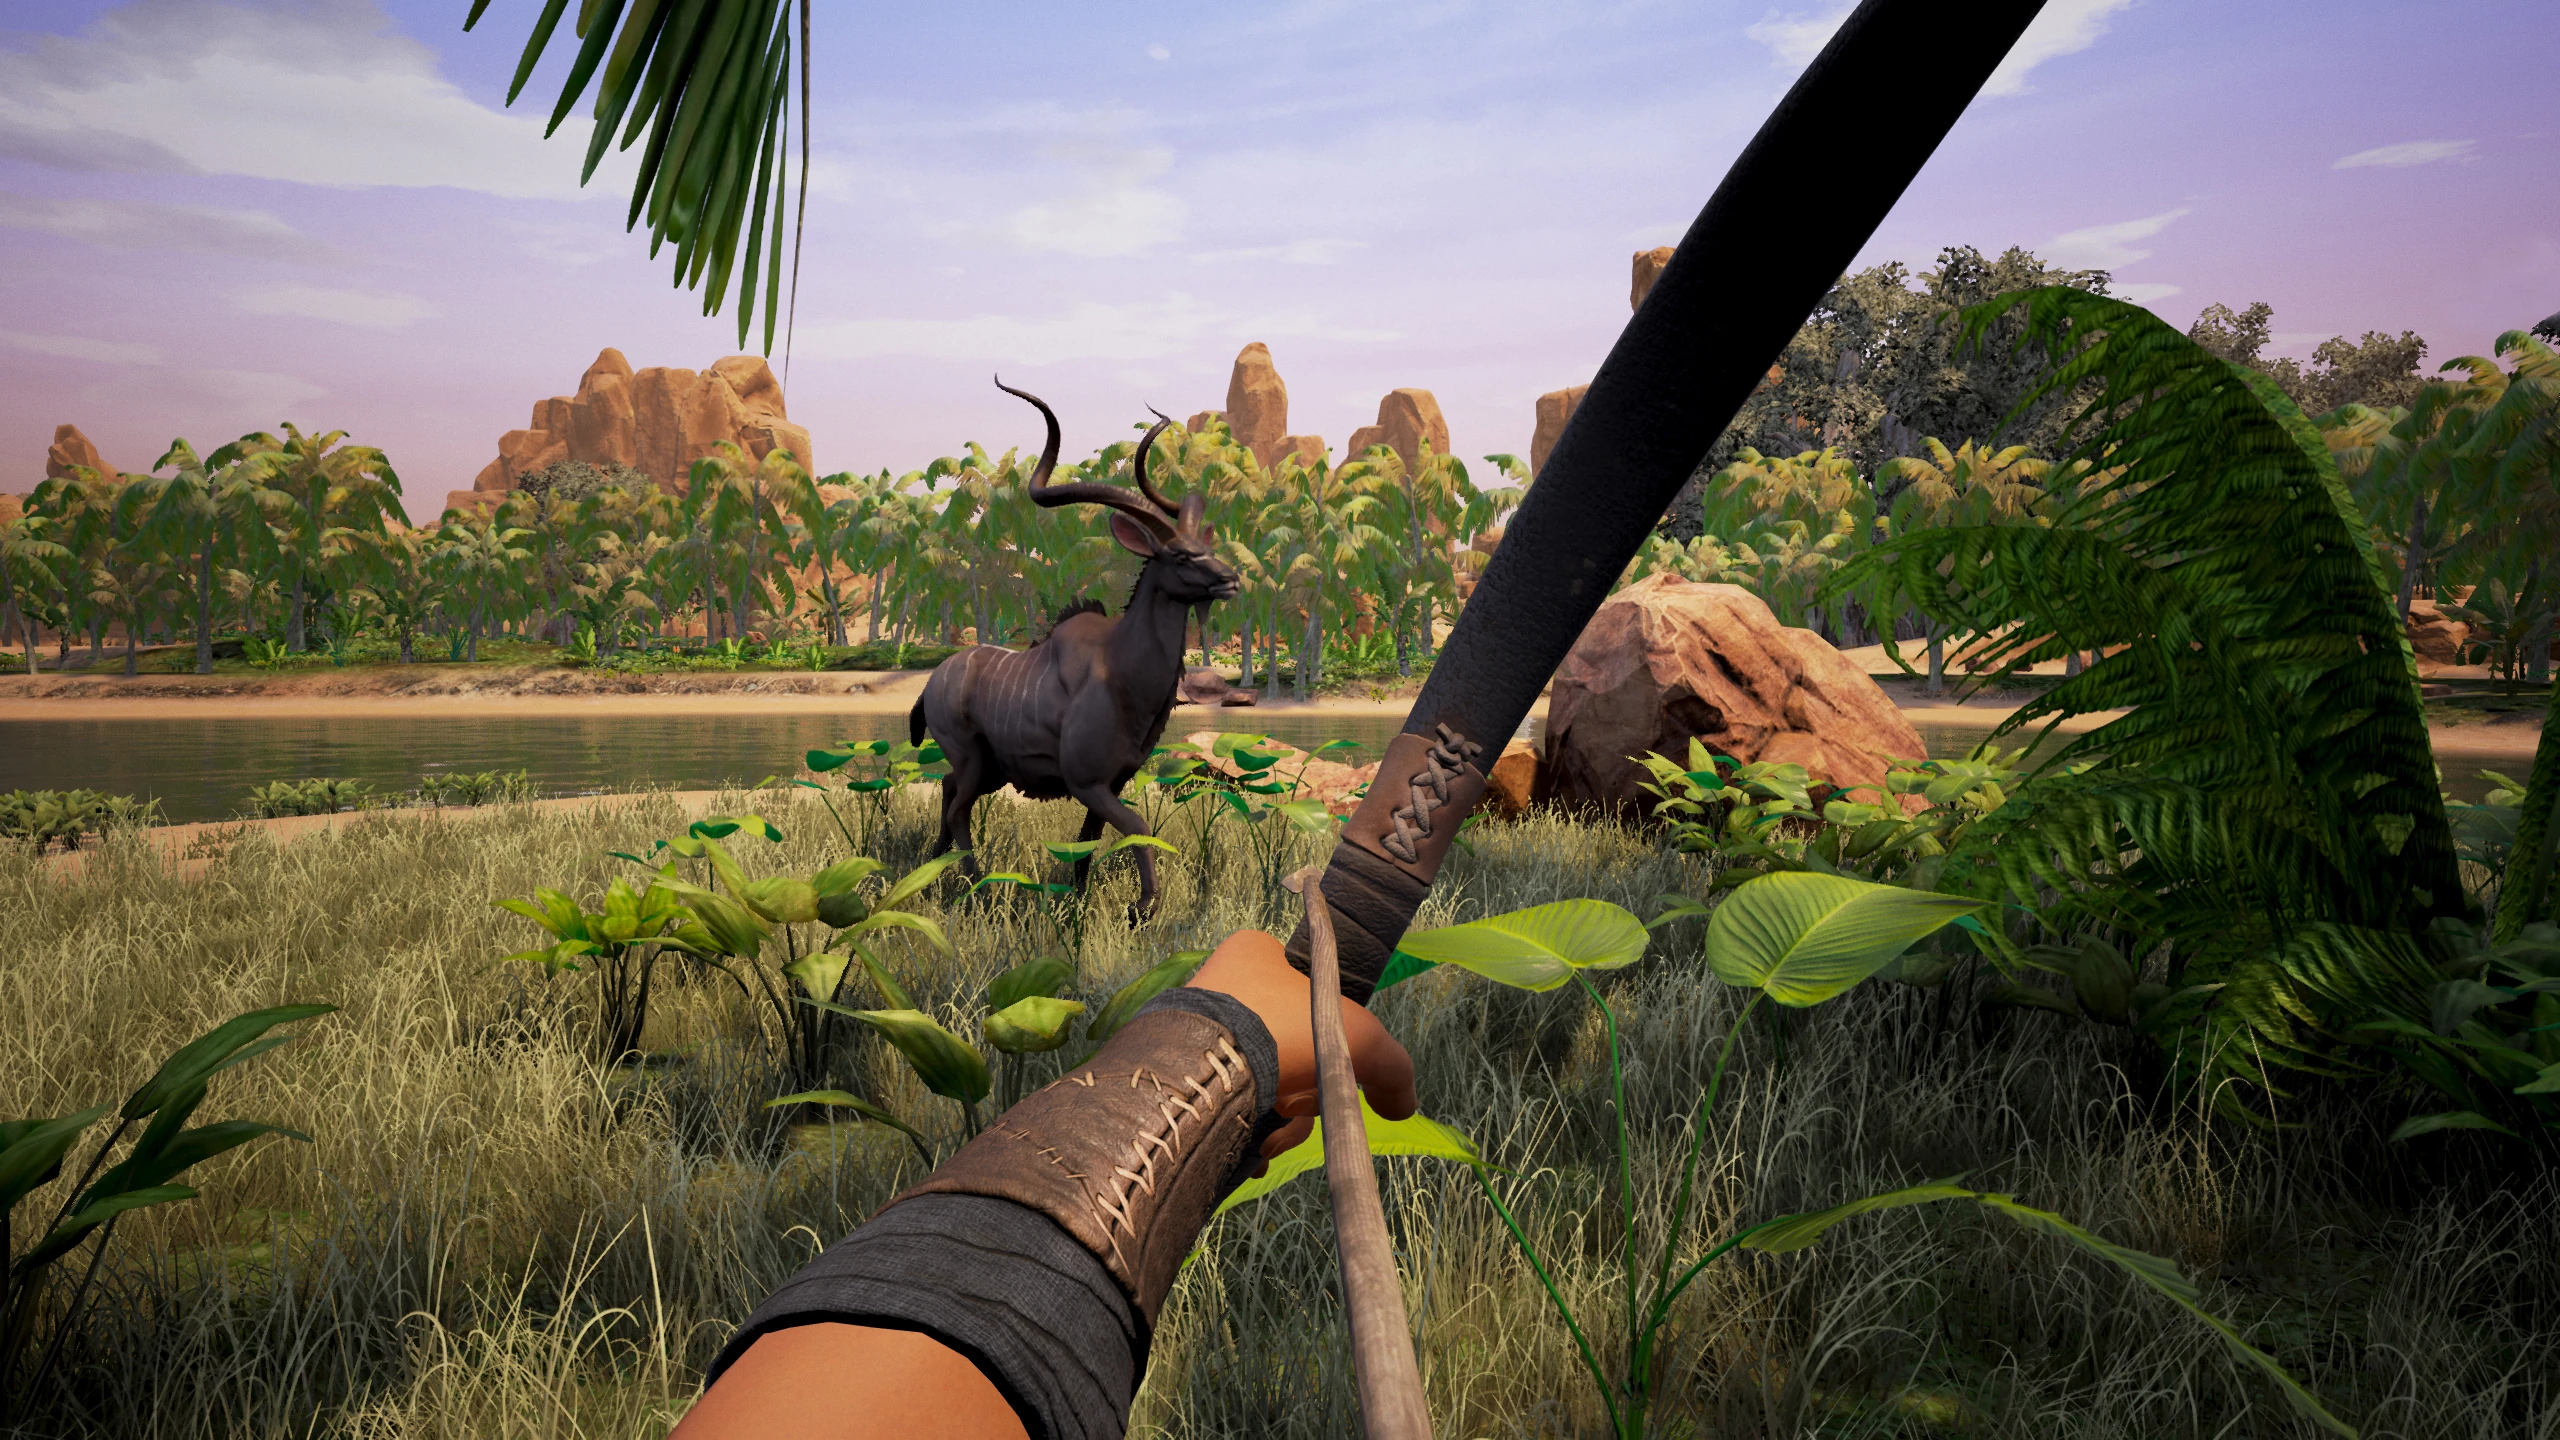
Welcome to the Hunt! In quick fashion you'll soon be hunting the best Antelope out there...
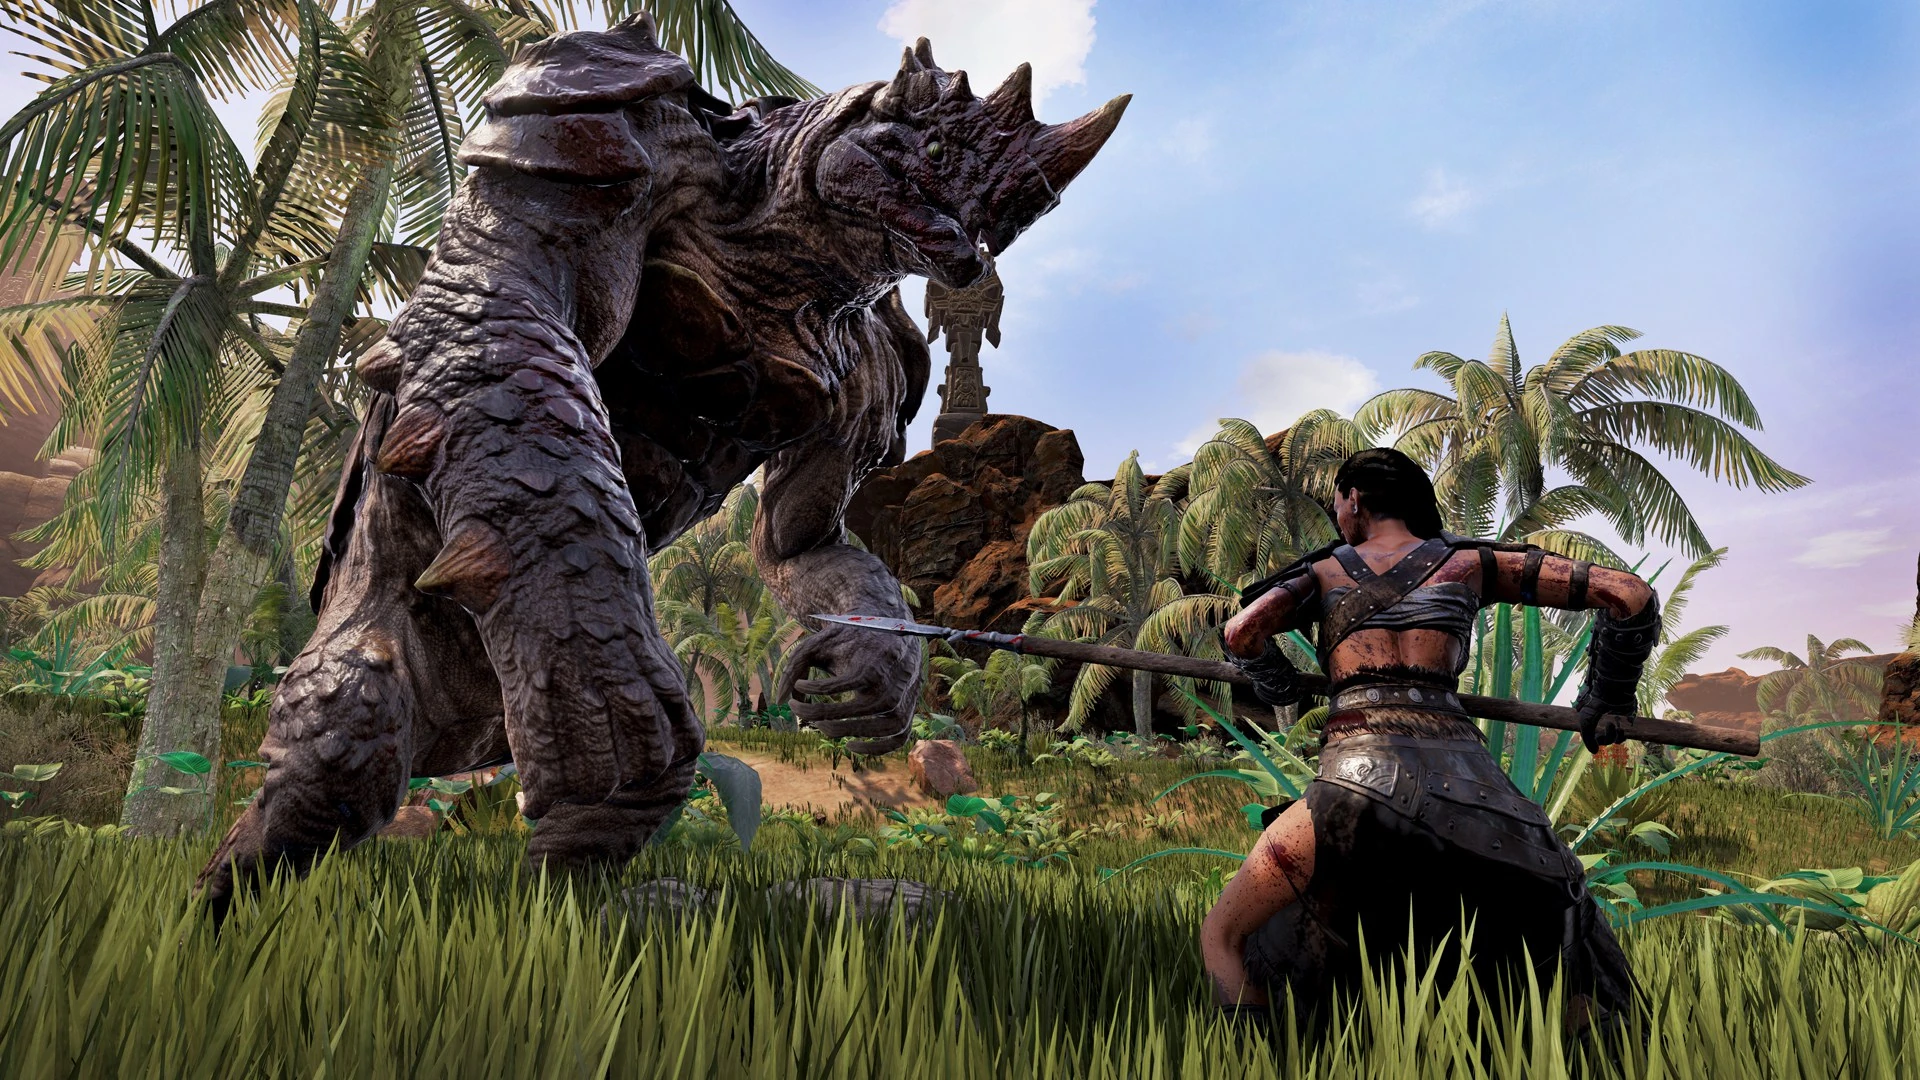
You're probably not ready to take on a Shaleback King yet, but soon, young one... soon.
You'll need some survival gear and quick if you haven't already got it started. The basics are light clothing otherwise known as Coarse gear ( ![]() Coarse Tunic,
Coarse Tunic, ![]() Coarse Handwraps,
Coarse Handwraps, ![]() Coarse Leggings and
Coarse Leggings and ![]() Coarse Footwraps ), which you can make with some pretty basic gathered Resources. This will protect you a bit against aggressive creatures and NPCs. If you get in too much of a fight the armor will degrade through use and you'll be bare again, so keep your stuff repaired.
Coarse Footwraps ), which you can make with some pretty basic gathered Resources. This will protect you a bit against aggressive creatures and NPCs. If you get in too much of a fight the armor will degrade through use and you'll be bare again, so keep your stuff repaired.
To Craft your first weapons, you'll need the Datei:Icon Mercenary.png Mercenary recipe which will unlock handcrafting of a Stone Sword (A blunt, brittle sword.) and a Wooden Shield (A rudimentary shield of loosely bound branches.) They're pretty basic, but they'll make do until you can make something better. They'll keep you pretty protected and you'll be able to take down most of the Creatures near to the River, and hopefully with your negotiation skills you'll be able to passively survive any other players. Leveling up will bring the ![]() Archer option which will give you the ability to craft a Hunting Bow and some Flinthead Arrows. Combine the arrows by dragging the Arrows icon into the Bow icon once you've crafted them to load it and you're ready to be a Hunter, for the glory of the hunt!
Archer option which will give you the ability to craft a Hunting Bow and some Flinthead Arrows. Combine the arrows by dragging the Arrows icon into the Bow icon once you've crafted them to load it and you're ready to be a Hunter, for the glory of the hunt!
Religion, gods & their avatars[ | ]
Choose to worship one of the gods and gain their favor as Religion options. Throughout the game, you'll have the option to worship any, all or none of the gods as you see fit. By choosing one of the various gods, you will start the game with the basic knowledge as an acolyte of their religion. Knowledge granted by following the gods will give you certain advantages. Right from the start you will be able to build an altar to your god, and from the altar you can craft your religious artifact and get access to some helpful Recipes. You gain favor for the gods in different ways. When you kill other players or human NPCs you use your religious artifact on their dead bodies.
| Icon | God Name | Description | Information | Gain Favor | Avatar |
|---|---|---|---|---|---|
| Crom | The "God who requires no worship." | By choosing Crom you will not get the knowledge of an acolyte, as he is the god if you do not wish to get involved in the religion system. | |||
| Set | The "God of serpents and sacrifice." | Set’s followers are granted powers that align with their god, protection from Poison and the ability to turn Snakes into Arrows. | Use your Setite Ritual Knife to cut out the hearts of your enemies and bring them to his altar to gain Set’s favor. | An enormous snake | |
| Yog | The "God of cannibals." | Yog, the Lord of Empty Abodes, demands that his followers consume flesh that has been ritually purified and in return, Yog grants his followers blessed Weapons and Armor. | Gain Yog’s favor by using your Yog Cleaver to harvest unblemished human flesh and roasting it in a Pit of Yog. | An immense eldritch horror | |
| Mitra | The "God of right and justice." | Mitra purports to be a god of right and justice, Mitra’s followers are given the ability to create Clothing and Weapons. | Purify the bodies of fallen enemies with your Mitraen Ankh and bring the lingering essence of their souls to an Altar of Mitra to gain his favor. | A gigantic bronze colossus | |
| Ymir | The "Lord of War and Storms" | Harvest ice shards from human corpses using your Hoar-Frost Hatchet and bring them to an Altar of Ymir to combine them into ice and gain his favor. |

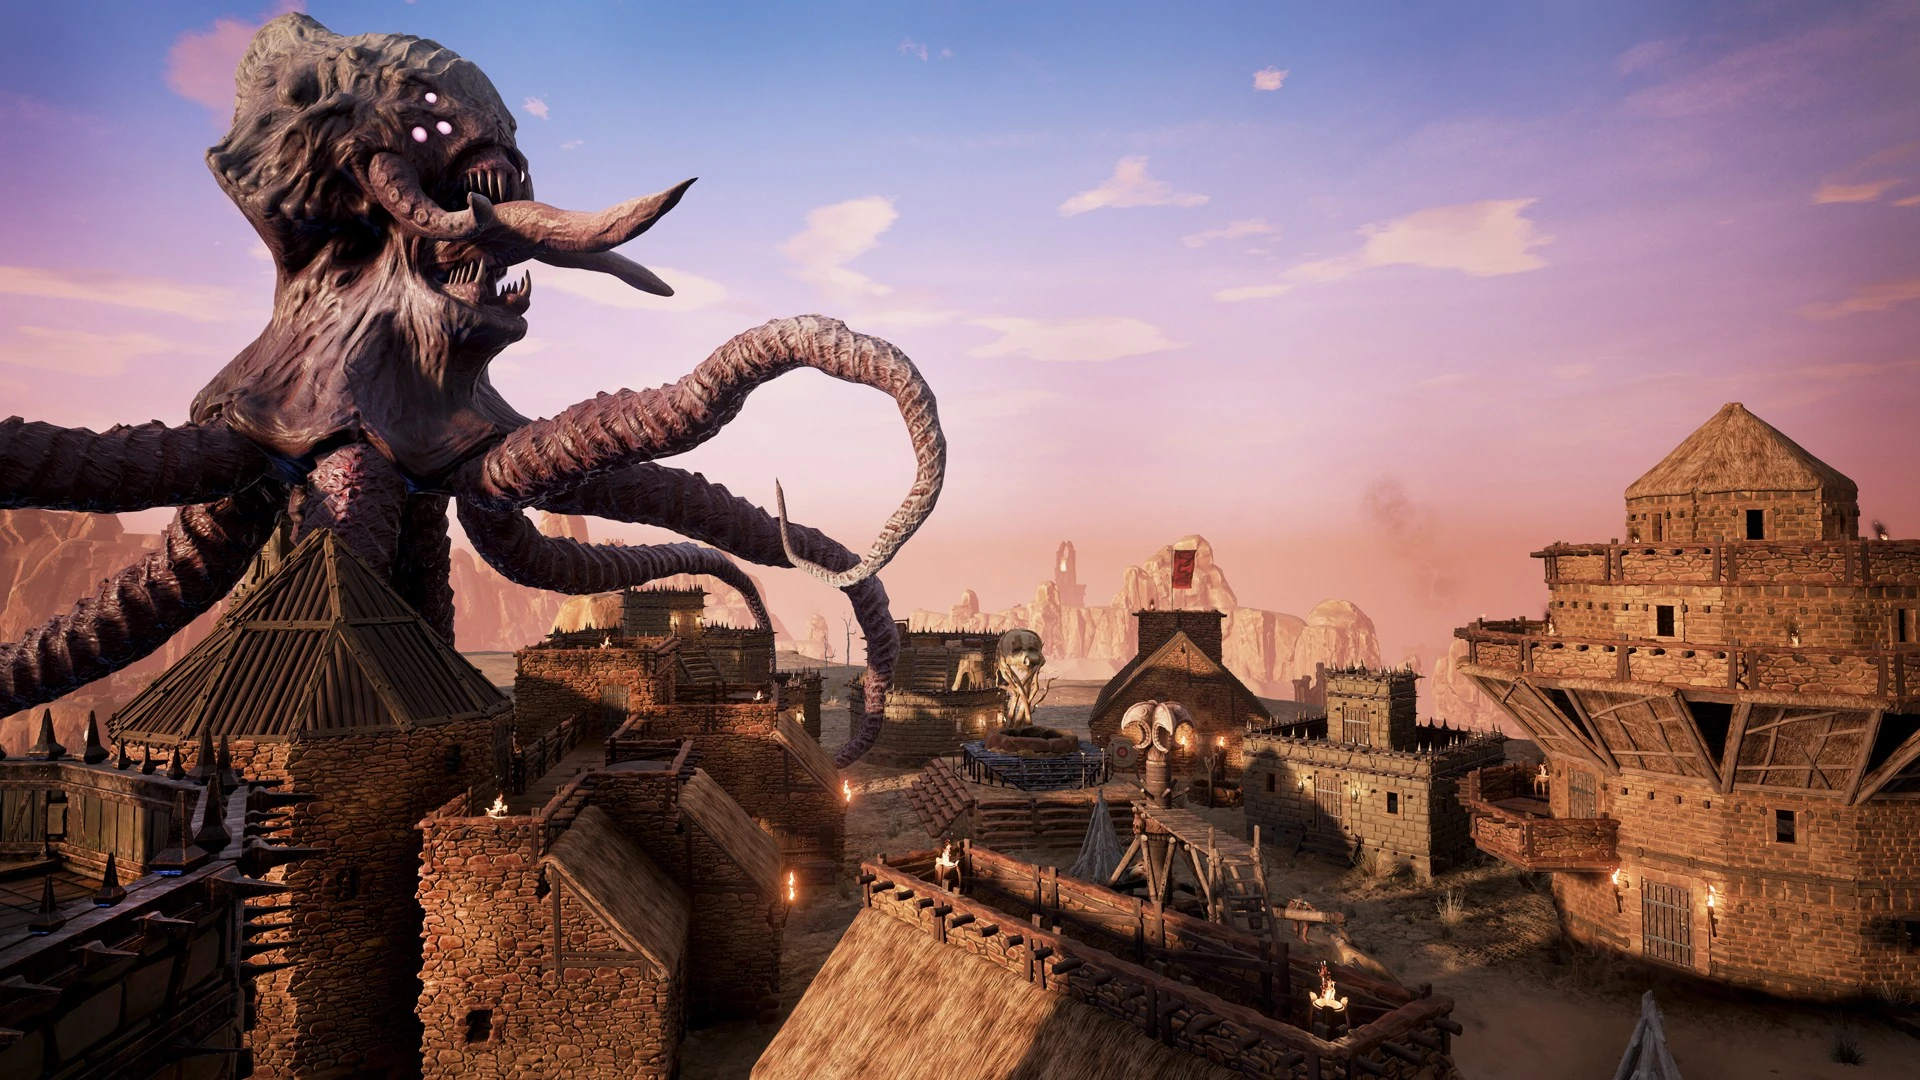
The summoned avatar of Yog obliterating his enemies.
Once you've gained favor, the Avatar of your religion is the ultimate expression of your religious fervor in the game. These huge creatures are the physical embodiment of the gods which appear for a very brief period. The avatars are also the ultimate tool for crushing your enemies in Conan Exiles. Their incredibly powerful attacks smash anything in their path. No building, castle or wall can stand before them. Although their power is immense, the effort needed to summon an avatar is massive. Not only do you need to have constructed a tier three Altar, but you also need to have enslaved the right Thrall for your religion. These are monumental tasks and all the effort which has gone into them is consumed to summon an avatar.
Death, status effects & corruption[ | ]
The Death system in Conan is quite similar to most hardcore survival games. Be prepared to die, as you will die. It happens, and most likely a lot. If and "when" you die, you lose all equipped Weapons all Tools as well as anything you are carrying, dropping your entire inventory. This might be different on some servers due to settings, though.
Many of the dark places in Conan Exiles are filled with corrupting magic. When you explore deep caves or ancient ruins such as the Unnamed City, the magic which still lingers there slowly corrupts you. When you fight magical creatures, such as demons or undead, their very presence spreads Corruption.
Corruption permanently reduces your maximum Health, and the more you are exposed to the corruption, the worse it gets. When corrupted, you need to spend time in the presence of entertainer Thralls to remove it. Once the corruption has been removed, your maximum health will return to normal. Even though it is dangerous to seek out such dark places, they are often filled with valuable treasures or mystical Lore.
Guilds, clans & growing friendships[ | ]
The desert is harsh enough to have additional players as Enemies. Work with your neighbors or friends to create a Guild and live in harmony, while punishing your enemies. Once you have created a guild you can invite others, or join other people's creations. In Early Access the system didn't allow for guild alliances, but once it's implemented, you can feel free to have handshake deals and other agreements. You'll want to keep an eye on fighting with other guild members, as friendly fire is on and you will take damage from wide swings of friendlies. In regards to guild building, Foundations and other Buildings allow for ownership of a certain radius, and if you're not part of the guild you wont be able to build on or close to their foundations.
- To invite someone into your guild, stand next to the person looking at them, and hold Vorlage:Key which will send an invite to your guild.
Building and expansion[ | ]
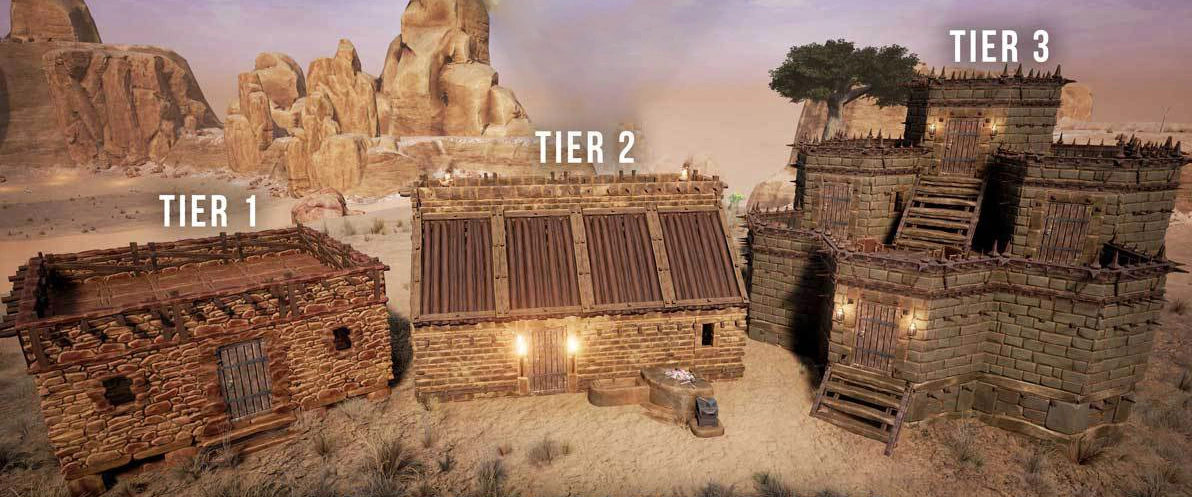

A look at the various tiers of building materials used to fashion places to survive.
Buildings in Conan Exiles have 3 different Tiers of building supplies and materials. Each Tier increases the player's survivability and gives added protection against the weather, Thralls, Creatures and other players.
- Tier 1 Buildings - Sandstone (Stone and Wood to build) - Damaging such buildings requires steel weaponry.
- Tier 2 Buildings - Stonebrick (Bricks and Shaped Wood to build) - Undamagable by Weapons, need explosive items.
- Tier 3 Buildings - Reinforced (Hardened Brick, Shaped Wood and Steel Reinforcement) - Undamagable by Weapons, need explosive items.
Building notes[ | ]
- Buildings also have a Foundation requirement. Any building uses a support system that needs to be supported by pillars or connected to a foundation in some way.
- Equipping a Repair Hammer will show you the quality of your buildings, and will give you a chance to see the materials needed to fix. You can craft a Repair Hammer with your first building.
Servers & advanced topics[ | ]
If you're wanting to get started playing through the Exiled Lands on your own server feel free to swing over to the dedicated server system requirements page, where you can read up on the requirements and get technical with setting up your own personal server. If you'd rather check out the dedicated server providers, there's also an option for that. Additionally you can find more information in the technical manual.
Once installed, the Admin Panel can be accessed in the game by pressing Vorlage:Key - Vorlage:Key - Vorlage:Key which will give access to a great variety of functions that admins will use in the game, from spawning Items to setting times of day, to cloaking etc. There are several additional Admin commands that can be run from the command line (Vorlage:Key or Vorlage:Key to open) which will probably be useful for day-to-day activities.
- SummonPlayer [Playername] – This will summon a player to your location which is useful for situations where they are stuck etc.
- Fly – Will allow your player to fly around the world. Extremely immersion breaking…
- God – Makes you invulnerable to all damage, but also prevents knockbacks and other secondary effects from being applied to your Character.
- ToggleDebugHUD – This shows server performance and number of players in the top right and your location co-ordinates in the bottom left.
- Vorlage:Key - Vorlage:Key - Vorlage:Key - Vorlage:Key – Will open a small window that shows your location in a format that can be copy pasted easily. Use this for bugfixing and teleporting to help stranded players.
- Vorlage:Key - Vorlage:Key - Will destroy any building piece and kill any NPC in front of you.